Acoustic window treatments are an important step of soundproofing a room as they allow sound to travel back and forth with little resistance.
Through the use of Soundproof Windows sound levels can be drastically reduced either using your existing windows or in addition to a new exterior window.
There are many benefits to using Soundproof Windows. In addition to noise reduction, they insulate and stop drafts leading to reduced energy costs from heating/cooling. This makes soundproof windows very appealing not only to homeowners but also to developers.
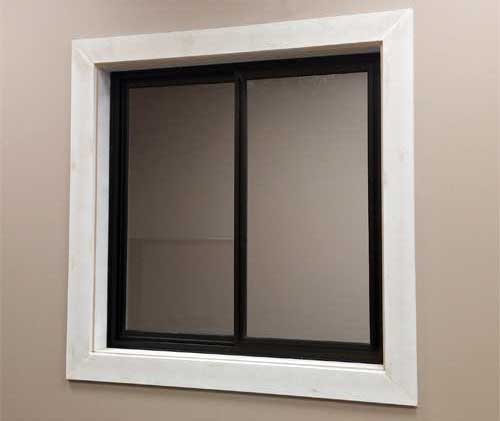
The installation of soundproof windows is actually quite simple and quick. This article outlines how horizontal sliding soundproof windows are installed.
Step 1:
Unpack the Soundproof Window from its shipping packaging, including instructions and installation hardware enclosed within the package.
Step 2:
Layout and match the coloured dots that are attached to the frame corners.
Step 3:
Screw the frame together using two screws for each corner.
Step 4:
For Surface mount – Place the frame into the opening to confirm the fit, and check for any extra room. Attach the one sided foam tape to the back of the frame about ⅛” from the edge to form a seal between the frame and the wall. Place the frame against the wall, centering it over the opening. Loosely install two installation screws at the center of the sides and check that the frame is square. Ensure the sill of bottom piece is flattened straight.
 For Flush mount – Place the frame into the opening to confirm the fit, and check for any extra room. The frame should fit easily into the opening. Attach the one sided foam tape to the back of the frame about ⅛” from the edge. Fit the frame into the window. Remove and add foam tape as need for best fit. Be aware that some walls may not be square or straight and may require additional foam in certain areas to ensure a perfect square. Screw the frame to the window opening avoiding over-tightening the screws. Over tightening will result in distortion of the frame.
Step 5:
To install the glass panels, begin with the fixed pane. Install the panel at the center of the frame. With the fuzzy strip or rubber bulb facing you by lifting the panel up into the backside of the spring loaded track at the top and down onto the rear side of the track at the bottom. Slide the panel into place either to the left or right depending on your exterior window configuration. The fuzzy strip or rubber bulb seal should now be in the center facing you. Install the second panel and slide fully into the respective channels to align and lock into each other at the center.
Step 6:
Caulk around the edge of the window to seal over the area where the foam tape is located. We do not recommend using a pure silicone caulk. Surface mount frames do not require caulking other than at the sill or when gaps are detected.
For full installation instructions download the Window Assembly and Installation document.
ARCACOUSTICS is the exclusive representative of Soundproof Windows in Canada. Please contact us for all your soundproof window, steel door, sliding glass door, and glass door panel needs.